This post walks through reinstalling a VPS with bin456789/reinstall. The script can set up the installation environment for the next boot, but reinstalling is not a risk-free one-click operation. The partitions and data on the target system disk will be rebuilt, and SSH may be temporarily unavailable after the reinstall.
Before You Start
First, confirm the machine is a full virtual machine or physical machine, not a container like OpenVZ or LXC. Back up the files, databases, application configs, and keys you need from the system disk; if you have additional mounted data disks, confirm the target disk and backup location too — don't treat "I wasn't planning to reinstall it" as a backup.
Open the VNC, serial console, or other console your provider offers and confirm you can actually get in. Note down the public IP, gateway, subnet info, and current network configuration. If you have no console and no recoverable backup, stop here.
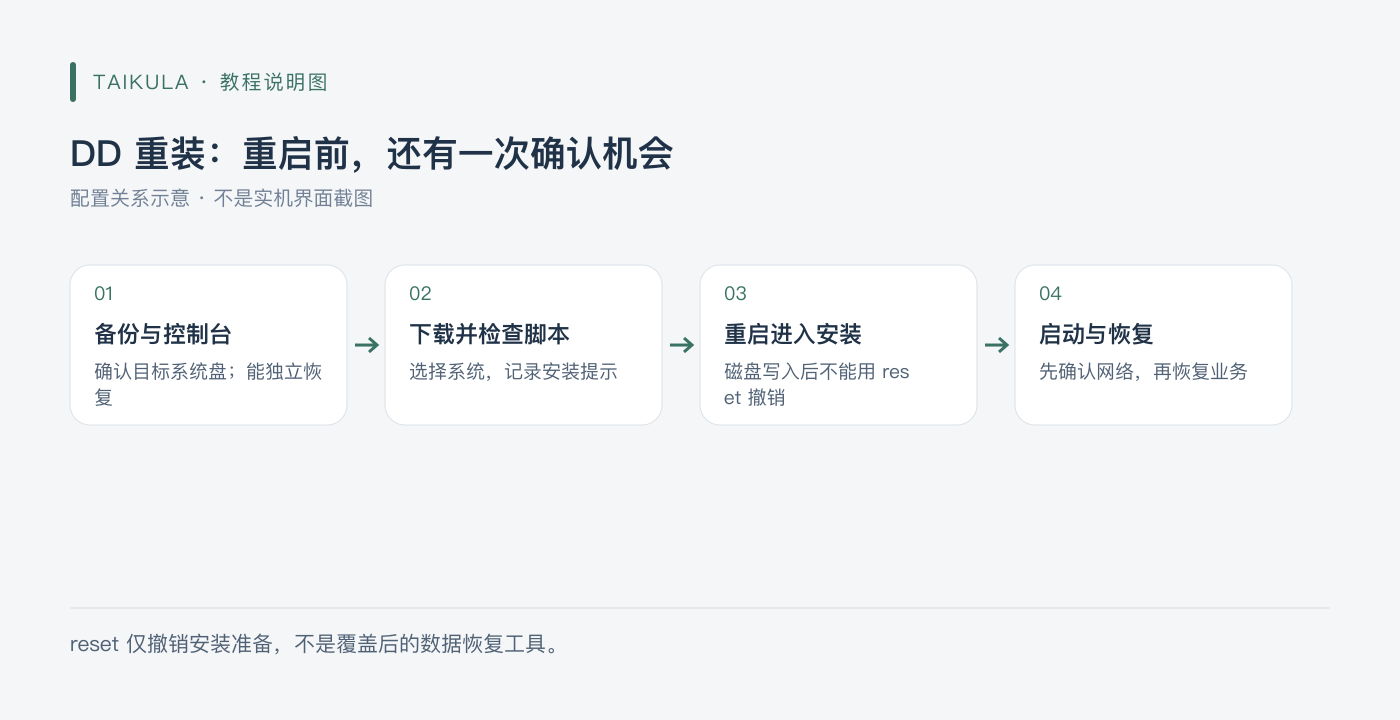
Illustration: DD reinstall — one more confirmation before reboot
Running the script and rebooting are two separate stages. After the script finishes preparing, you should still check the prompts it gives you; only the reboot moves things into the actual installation process.
Download the Script
The following assumes Debian or Ubuntu as your current system. For other distros, follow the project docs to install the download tools — don't just copy the apt commands.
sudo -i
apt-get update
apt-get install -y curl ca-certificates
curl -fL -o reinstall.sh https://raw.githubusercontent.com/bin456789/reinstall/main/reinstall.sh
less reinstall.sh
If the download fails, fix the network issue first — don't add -k to disable HTTPS verification. The script runs with high privileges, so its source and contents are worth a look.
Choose the Target System
For example, to install Debian 13:
bash reinstall.sh debian 13
Or Ubuntu 24.04 LTS:
bash reinstall.sh ubuntu 24.04
Pick one of the two commands — don't run them back to back. For other systems and versions, refer to the project's current support list. Ubuntu 24.04 is an LTS release; centos 9 and centos 10 in the script refer to CentOS Stream, not the discontinued legacy CentOS Linux line.
Set the account and password as prompted, read through the login method, installation info, and notes the script gives you, then decide whether to reboot. Don't assume every system uses the same default root password.
Reboot, Watch, and Recover
Once you've confirmed the backup and console are both usable, run the reboot the script prompts you to do. Watch the installation progress in the console — don't force a shutdown just because SSH drops. Image download, disk speed, and network configuration all affect how long it takes, so this post can't promise a fixed number of minutes.
After installation, first confirm boot and networking through the console, then try SSH from your own computer. Finally, verify the target system version, disk partitions, and service status, and restore your workloads as planned.
If you haven't entered the reinstall process yet and want to cancel this preparation, the current script provides:
bash reinstall.sh reset
This undoes the reinstall preparation — it is not a data recovery tool for disks that have already been written to. Data that's already been overwritten can only be handled through backups and whatever recovery options you actually have.
Reference: reinstall project docs. This post has been corrected against the current docs; the reinstall was not performed on your VPS.